For my project, I used the arduino heat sensor to create a temperature display using LEDs.
This was my first time working with arduinos (and wiring or circuitry of any sort), but I have a lot of experience with programming, so this project was a weird mix of using tools I was completely unfamiliar with and tools I was very familiar with.
Below: Arduino board. My first thoughts – “This thing appears to be full of scary metal stuff and possibly electricity. I hope I don’t accidentally start a fire or cause an explosion.”
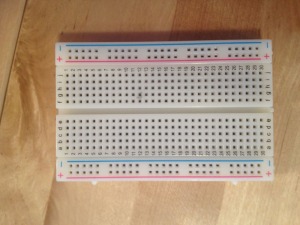
Below: Arduino Breadboard. My first thoughts – “What does this have to do with bread?”
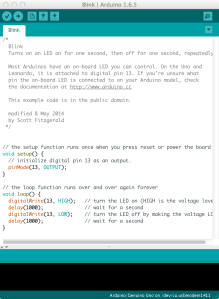
Below: Arudino coding platform. My first thoughts –“It looks just like Processing! I can do this!”
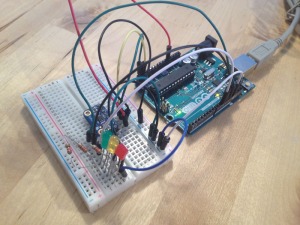
The final output for the temperature data is three LED lights, one green, one yellow, and one red. The starting idea for this project was that the higher the temperature, the more lights would go on. I started this by setting a base temperature (for most of my experiments the base temperature was set to 70 degrees, but it could be anything), and an increment temperature (I had mine set to 5 degrees; therefore, for every 5 degree increase in temperature above 70 degrees, another light would turn on). However, this was obviously a very imprecise way of measuring temperature, so I wanted to determine a way to make the measurements more useful without adding a ridiculous number of LEDS.
Below: LED setup on breadboard
My first design was to have the LEDs blink at varying speeds as the temperature changed. For example, (using base 70 degrees and increments of 5 degrees), if the temperature was just over 70, the green light would blink very slowly. As the temperature rose, the green light would blink faster and faster. At 75 degrees, the green light would stay on and the yellow light would begin to blink slowly. This way, the lights can give fairly detailed temperature data within the set range (below 70 degrees all lights will be turned off, and above 85 degrees all lights will be turned on unblinking).
Below: code for LED blinking
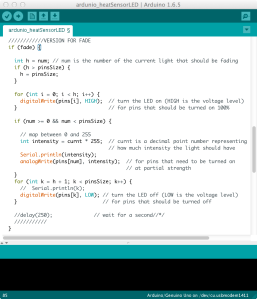
The other design option I used was to fade the LEDs based on the temperature. The technique is similar to the change in blinking rates, except this time it is the brightness of the LED that is changing. For example, if the temperature was 72 degrees, the green LED would be turned on at 40% brightness, at 73 degrees it would be 60% brightness, and so on. In an ideal situation, I think the brightness-meter is easier to read than the blinking-lights-meter, and can be less of a strain on the eyes (staring at blinking lights for long periods definitely not recommended). However, because the LEDs I am using have different maximum brightness (specifically, the yellow LED is way brighter than the green or red LEDs), the results based on brightness could be confusing or misleading.
Below: code for LED fading
Below: Yellow LED can become much brighter than green LED
Since the base temperature and increment temperature can be altered easily, my arduino device could be used to measure temperature for a variety of situations, such as determining if the refrigerator is cold enough, or how much waste heat is being given off by some incandescent light bulbs. Specifically, the use of colored lights in displaying temperature could be useful for very young children, who may not yet understand temperature or thermostats, but could understand something simple like “don’t play outside if the red light on.”


